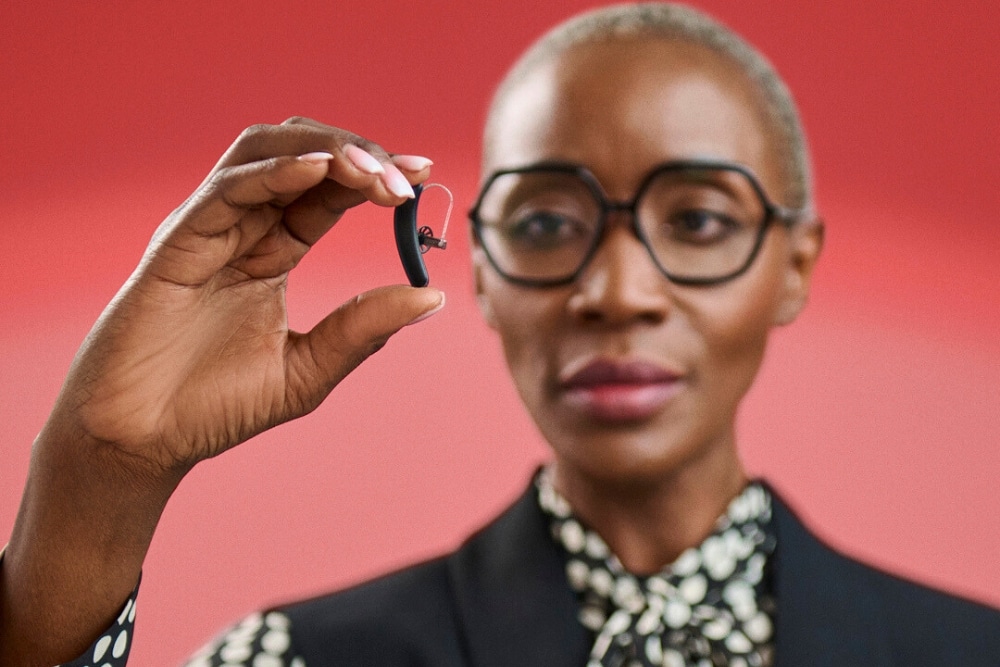
Hearing aids are a vital investment in your auditory health, empowering you to rediscover the world of sounds and connect more fully with those around you. However, just like any delicate instrument, your hearing aids require regular care and attention to perform at their best. Cleaning them might seem daunting at first, with various components and concerns about potential damage. But fear not, for mastering the art of hearing aid cleaning is simpler than you might think. In this guide, we’ll explore the essentials of hearing aid maintenance, shedding light on how you can clean and maintain your hearing aids at home, as well as the tools that will keep your devices performing optimally.
Tools for Cleaning Hearing Aids
Maintaining the optimal performance of your hearing aids requires regular cleaning and care. Just as a well-maintained instrument produces beautiful music, clean hearing aids deliver crisp and clear sound.
But you might wonder, “What is the best thing to clean hearing aids with?” The answer lies in a few essential tools designed specifically for hearing aid care. These tools, readily available at hearing health centers or online, make the cleaning process simple and effective.
- Hearing Aid Brush: This small brush with soft bristles is designed to gently remove dust, debris, and earwax from the surface and openings of your hearing aids. Look for one with a combination of different bristle sizes to effectively clean various parts of your device.
- Slim Tube Cleaning Tool: For behind-the-ear (BTE) hearing aids, this thin, flexible wire is indispensable. It helps clear any moisture or debris that might be blocking the sound pathway within the thin tubes and vents. Ensure you choose a tool that’s the correct size for your specific hearing aid tubing.
- Wax Loops and Picks: These tools, with their small loop or hook at one end, are perfect for carefully removing stubborn earwax from the receiver or sound outlet of your hearing aids. Make sure to opt for tools with smooth edges to avoid any accidental scratches on the delicate parts of your device.
- Earmould Air Syringe: This small bulb, when squeezed, creates a puff of air that efficiently removes moisture and debris from the tubing and vents of your hearing aids. It’s a quick and handy way to dry your hearing aids after cleaning.
- Hearing Aid Cleaning Spray: Keeping your hearing aids hygienic is essential. This specialized spray is formulated to kill germs and bacteria on the surface of your devices. Make sure to choose a spray that is safe for hearing aids and always follow the manufacturer’s instructions.
- Hearing Aid Dryers: These electronic devices utilize gentle heat and/or air circulation to remove moisture from your hearing aids. Especially crucial in humid climates like the Philippines, they help prevent moisture damage. Look for a dryer that is compatible with your type of hearing aid for the best results.
How to Clean Hearing Aids?
Now that you’ve assembled your cleaning toolkit, let’s delve into the actual cleaning process. While the overall steps are similar for different types of hearing aids, there are a few nuances to consider.
In-the-Ear (ITE) Hearing Aids
- Brush Away Debris: Begin by gently brushing away any visible ear wax or debris from the hearing aid’s surface, paying close attention to the microphone ports and vents. These tiny openings are crucial for sound transmission, so keeping them clean is vital. This is the first step in how to clean hearing aids at home effectively.
- Disinfect: Once the earmold is clean, wipe down the entire hearing aid, including the earmold, with a disinfectant wipe or spray. This step helps eliminate germs and bacteria, ensuring your hearing aids remain hygienic.
Behind-the-Ear (BTE) Hearing Aids:
- Detach the Earhook: The first step is to carefully remove the earhook from the main body of the hearing aid. This allows for easier access to clean both components thoroughly.
- Clean the Earhook and Tubing: Employ the slim tube cleaning tool to navigate the earhook and tubing, removing any wax or debris that might be obstructing the sound pathway.
- Wipe Down the Body: Using the hearing aid brush, gently brush the hearing aid body and microphone openings. Then, wipe it down with a disinfectant wipe or spray to ensure it’s clean and germ-free.
- Dry Thoroughly: Moisture is the enemy of hearing aids. Place the hearing aid and its components in a hearing aid dryer or allow them to air dry completely before reassembling. This prevents any internal damage and ensures optimal performance.

Additional Cleaning Tips to Maintain Your Hearing Aids
Beyond the basic cleaning steps, a few extra tips can go a long way in ensuring the longevity and optimal performance of your hearing aids. These simple habits will help you keep your devices in top shape and avoid any unnecessary repairs.
- Consult Your Manual: Each hearing aid model may have specific cleaning recommendations. Always refer to the manufacturer’s manual for detailed instructions tailored to your device.
- Utilize Cleaning Kits: Many hearing aids in the Philippines come with cleaning kits containing essential tools for at-home maintenance. Make the most of these kits to ensure you have everything you need for proper care.
- Clean Daily: Incorporate a quick cleaning routine into your daily schedule. A simple brushing to remove any visible wax or debris can make a big difference in preventing buildup and maintaining sound quality.
- Deep Clean Weekly: While daily cleaning is important, a more thorough cleaning should be performed at least once a week. This involves using the specialized tools mentioned earlier to clean the intricate parts of your hearing aids.
- Clean Your Ears Regularly: Taking care of your ears and cleaning them is just as important as cleaning your hearing aids. Excess earwax can not only impact the performance of your devices, potentially muffling sounds or causing feedback, but it can also affect your overall ear health and lead to discomfort. As for how often you should be cleaning your ears, it’s every two to four weeks. If you’re unsure about the proper way of cleaning your ears, don’t hesitate to consult a hearing health center for guidance.
Beyond Clean: Nurturing Your Auditory Companions
Cleaning your hearing aids isn’t merely a chore; it’s a ritual of care that unlocks the full spectrum of sound. By mastering the art of cleaning and incorporating these practices into your routine, you’ll ensure your hearing aids remain faithful companions on your auditory journey. Remember, when your devices thrive, so do you. Should any questions arise, don’t hesitate to reach out to Active Hearing Center. We’re here to help you experience the world’s symphony with clarity and vibrancy.


